Powered By Blogger

Sunday, 27 September 2015

November theme: My School, Winter

Week 1:

Beginning with the theme "School" that will be integrated across all subjects-

In first class the children are concentrating on capital letters and their handwriting. They really want to be allowed to use pens in their copies, but this doesn't happen for a few years. So Calligraphy is a great way to allow them to experiment!


http://www.amazon.co.uk/gp/product/1402739125?psc=1&redirect=true&ref_=od_aui_detailpages00


http://www.amazon.co.uk/gp/product/B00CI6TDHU?psc=1&redirect=true&ref_=oh_aui_detailpage_o01_s00

At this age, just letting the children experiment is best. This is a new medium.

It will be a great lesson to reinforce letter formation as well as the use of capital letters. Calligraphy markers are much more durable than the pens.

At a very basic level- the children hold the pen flat to the paper. Begin as you would with a pre-writer. Zig Zags, lines, curves. They could trace over letters.


Week 2:

As winter is here (brrr!) we will begin to look at colour tones.

I normally print off templates to get the children to paint within, but I have found this has become an instructional procedure rather than experimenting with colour.

This year I think I will put down large sheets of paper and let them create colours. I will obviously control the colours that they have access to- otherwise they will just keep mixing the colours until they are brown!!

See here for my tips on teaching Primary Colours:
http://clairesprimaryschoolart.blogspot.ie/2015/08/primary-colours.html


Week 3:

A group painting using only the colours blue, black and white.


Week 4:

Experimenting with warm colours.

Creating a warm winter fire using chalk pastels to blend the colours.

I recommend using black sugar paper (it's rougher and the colour stays better)

Let the children experiment with the medium on a sample paper first. By smudging the colours with their finger they can blend them.

http://www.southernhodgepodge.com/wp-content/uploads/2012/12/chalk-pastel-3.jpg

Seal the chalk pastels with some hairspray. There are special sprays you can buy, but they are expensive.

Exploring the theme of Myself in September

We began the school year with "Myself".

Week 1:

Exploring "Myself" through Mindmaps in our sketch books and practising sketching our self portraits. This brought up some interesting conversations about skin tones and the lack of colours to suit the skin tones in the standard colouring packs. There was a pinky fair colour and a very dark brown, but no lighter browns or tan colours.

Some children in first class that are learning English as an additional language did not know the name of some body parts- eyebrows, eyelashes etc.

Many children were drawing stick people and we discussed how our bodies look- arms and hands.

Week 2:

We had fun looking through the book "Faces". We looked at all the places we may see faces in our world. There were many faces made from everyday items in this book!


Using the Tiger book we created our own faces from random items.


This was stuck into the children's sketch books.

Week 3:

Using large sheets of paper (A2), each child painted their own self portrait. I encouraged the child to paint big! This makes painting a bit easier at this age and looks very effective in the corridor! Who can resist a smile when they see these faces smiling at them?!

(I'll post photos later in the week!)

Week 4:

We spent our art lesson just responding to famous self portraits. The curriculum contains the strand unit "Responding to Art" and teachers are advised to let children respond to the art they make and famous artists.


This can be done as an introduction or conclusion to the art activity. I find that an hour flies by, between the set up, activity and clean up! (Clean up mainly!) So when you try to respond to the art, you rush it as you stand washing paint trays and collecting table cleaning cloths and instructing the class! 


I made time this month to introduce some famous self portraits and allow the children time to think and respond in a meaningful way to the portraits. Inspired by our class trip to IMMA last year, I asked questions like 

"What do you see?" 
"Does the picture remind you of anything?"
"How do you think the artist feels"

This is a fantastic website for resources:
http://www.nga.gov/education/timetravel/

I recommend the Judith Leyster video for self-portrait exploration.

The responses were fantastic. My first class openly discussed how they liked the brush strokes in Van Gogh's paintings and how Andy Warhol's self portrait was like a selfie! Amazing!!

Lesson Review

Eibhlin sent me a kind message this week. She used the Rugby lesson idea with her 3rd class. Here are some photos she sent.


It's lovely to hear feedback! :) 

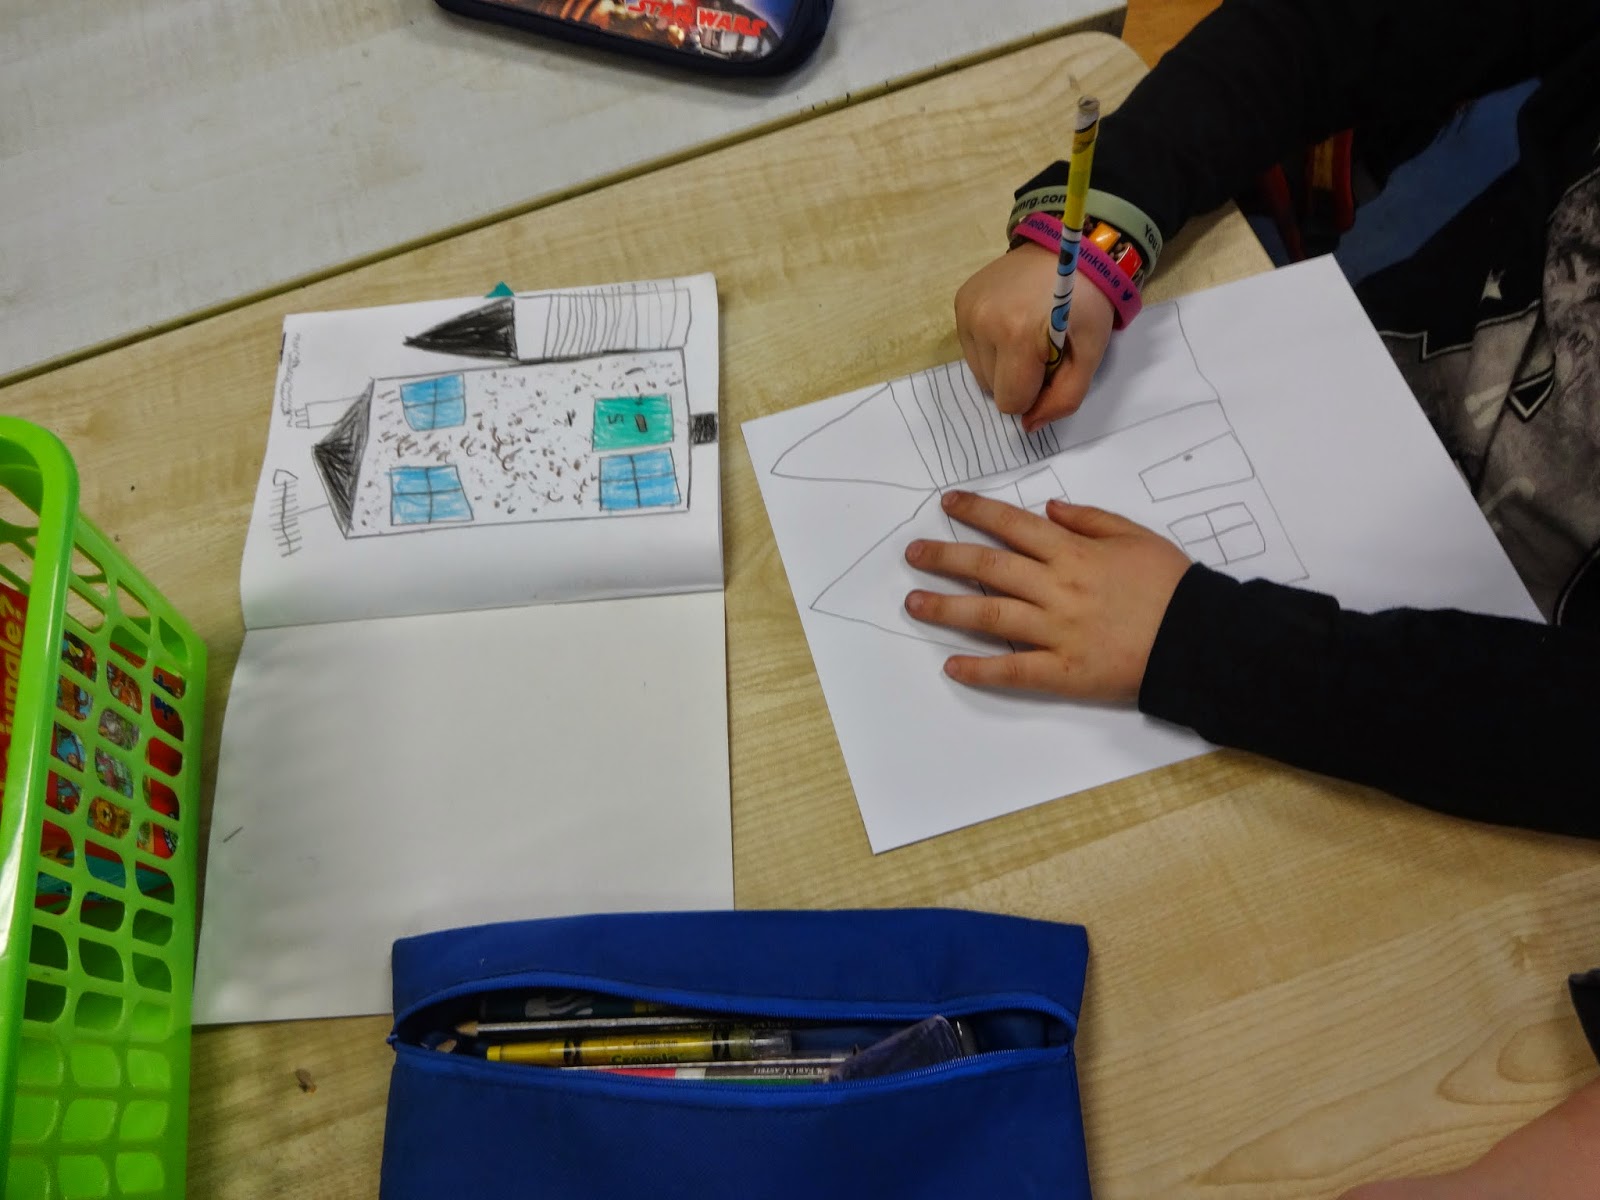
Houses and the emotional meanings


Young children draw the world as they perceive it.

As Gaeilge normally moves to the theme of "Sa Bhaile" in October, the theme of "Houses", "My Home" and "My Family" are more than likely being explored.

Before children learn the skills to draw their house accurately, their drawings may give you a more honest view into how their see their home life. This may be beneficial when drawing up behaviour plans or emotional support in the classroom.

Firstly, the child will spend time drawing the family members they deem important. As a teacher, I always see the child drawing their parent(s), sibling(s) and pet(s).

When the child draws the house, does it look warm and inviting?
Windows and paths are symbolic of the child's feelings of being open. Shut curtains and no paths may indicate being closed towards communicating with others.

Does the house dominate the page? or is it small and in the corner?
This could represent the dominance of home life, or rejection.

I'm not an art therapist, nor am I trained in the area, but I found these posts interesting as we get to know the children in our class further. This is often the time of the year when behaviour problems begin and the child's art may be an insight to the feelings within.

http://www.academia.edu/6520325/House_Tree_Person_Interpretation_Elements

http://www.intelligentietesten.com/house_tree_person_drawings.htm

Tuesday, 22 September 2015

Moving outside the comfort zone!

There are two events coming up:


Firstly, number dependant- I will be hosting a CPD course through the Athlone Education Centre. Details are on their website.

Secondly, for anyone attending Feilte- I am presenting at the Teachmeet.

Hopefully see you there!
Claire :) 

Thursday, 17 September 2015

Teaching Practice in Infants

Claire, I am currently a student teacher. I am a big follower of this page, I have my infant tp coming up in October and I am just inquiring for art ideas outside of the aistear curriculum. Any help would be really appreciated, S

For an infant TP I would say to keep it simple! Remember to observe how the teacher organises the management and structure of the art lessons and try to replicate it as that is what the children are used to.

As for ideas-
What is your theme?
Try to link it in with that as much as possible.

October is in autumn and it is also Hallowe'en and Diwali at the end of the month.
You may also be possibly following a theme of "At Home" as this is probably what you are covering in your Gaeilge lessons, "Sa Bhaile".

At this young age, the idea of letting children experiment with a variety of mediums and materials is key. They tend to develop the skills in them as they get older.

Choose harder mediums like oil pastels instead of chalk as they are learning the fine motor skills to manage these.

I also understand that Teaching Practice is a time when you want something to show for all your hard work!

"Autumn"

Print:

Using printing inks,
Roll some ink on a tray with a printing roller, and then on acetate.
Place an autumn leaf on top.
Place a piece of paper on top of this.
Press and roll with a clean roller


This can be done in a printing corner.
The rest of the class can make prints by placing paper on the leaves and colouring over with crayon while they wait.

Paint:

How about getting the class to paint an autumn scene? Include animals or houses you may have incorporated into your theme?

Maybe change a notice board into an autumn scene- getting each child to create a piece to add to the scene?

Clay:

Hedgehogs are great for this age group as you are teaching them the initial stages of using clay and the beginning of making pots-

Roll into a ball and pinch the nose.

You could use matchsticks for the spikes and later add the autumn leaves for a hibernating hedgehog effect!

"At Home"
(The Three Little Pigs/ The Woman Who Lived in A Shoe may be used as inspiration here).

Fabric and Fibre:
Creating houses or rooms/items using fabric and fibre.
I would advise you to have the material pre-cut.
If you give the children a template, let them stick the pieces first before you cut them out- so you have clean edges.
Encourage the children to fill the gaps.

Drawing:
Read the story aloud- ensuring not to show any illustrations!
The children respond and draw a picture. This is a fantastic means of checking comprehension skills at this age also!

When the pictures are finished- give the children a black crayon to trace around the edges. It is very effective.

Some of the teachers in my school cut A2 paper in half- so it's a long rectangle shape. It works well when children are creating a scene- as they have a length of the page to draw people and things beside one another.

Hope this helps! Best of luck with it!! :)


Wednesday, 16 September 2015

Rugby World Cup Art- Senior Classes


Here are the important dates:
http://rugbywc15.com/england-rugby-world-cup-fixtures-2015-schedule/


A Crucial Week also has lessons on her site for this topic:
http://acrucialweek.blogspot.ie/2015/08/rugby-world-cup-2015-teaching-resources.html

Negative Colour Art:

Looking at two opposite tones-


This could be applied to the logo- a bit like this:


The children could do this using complementary colours from their colour wheel. This is a simple enough logo for them to draw freehand.

They could etch it in polystyrene and make prints of the logo also. This is available from Cork Art Supplies:


http://corkartsupplies.com/Polystyrene-A4-%28297x210%29-25pk-P05233 


 Negative Space Drawing:


This is tricky- encourage the children to look at the shape behind the trophy and draw that. Also the shapes inside the handles. They draw the back ground. This is an important drawing skill to learn. It helps placement while drawing still life objects.


Also- get the children to draw the trophy without looking at their page. This also encourages looking and gets the children to pay attention to the contours. 


They could then redraw the trophy - adding the light and shadow.

Make it interesting by using charcoal and chalk pastels! 

Maybe a mosaic of it also?

Upside Down Drawing:


Give the children the photo of Paul O Connell upside down- as is. They draw their pictures upside down also. This gets them to look at what they are actually drawing as it changes the perspective of a figure. 

They could use the actual photo and try to recreate it with string instead of a pencil also.


Here is some other information that may come in handy for visual art lessons:


A paper mache rugby ball may also be an option? Paint it in the country they support colours.