Powered By Blogger
Showing posts with label Autumn. Show all posts

Saturday, 12 September 2015

Exploring the theme of Autumn in October

I set up a nature table to encourage the children to identify the leaves and collect some. This encourages them to start to look at their environment for art inspiration!

I also named the tables different tree names for the month. Twinkl has handy templates for this- I just used the ones they may see in Ireland (Birch, Oak, Willow and Elder) It's a pity Horse Chestnut is missing- but this is an easy one to remember!

http://www.twinkl.co.uk/resource/t-m-358-editable-class-group-table-signs-trees

Here's my plan for exploring autumn this month;

Week 1:

Introducing Land Art:

I bought Richard Shilling and Julia Brooklyn's book recently. It is like a picture book of all the possibilities of land art. It will be very inspiring!


http://landartforkids.com/

We will look at the work of Andy Goldsworthy and discuss his work.


Questions to ask:
What colours can you see?
Can you see any shapes?
Does it make you feel happy or sad?
Are the colours warm or cold?
Does the art remind you of anything?


Week 2:

As I mentioned in an earlier post, Leaf Man will be used to introduce children to the idea of creating beings with leaves.

"Tap the Magic Tree" is another visually great book to show the children how the seasons affect trees.


Collecting leaves. I will encourage children to find the leaves that appeal to them and ask them questions about why they chose that leaf. This encourages them to focus on the process.

This week we will enjoy arranging leaves. Photographs are a great way of recording the process, especially if you are on your 'dip year'/ teaching practice.

These photographs could be added to the child's sketch book as it is all part of the creative process.

I will press some of the leaves in a flower press to preserve them. I will also dip them in bees wax to preserve them for the nature table.

Week 3:

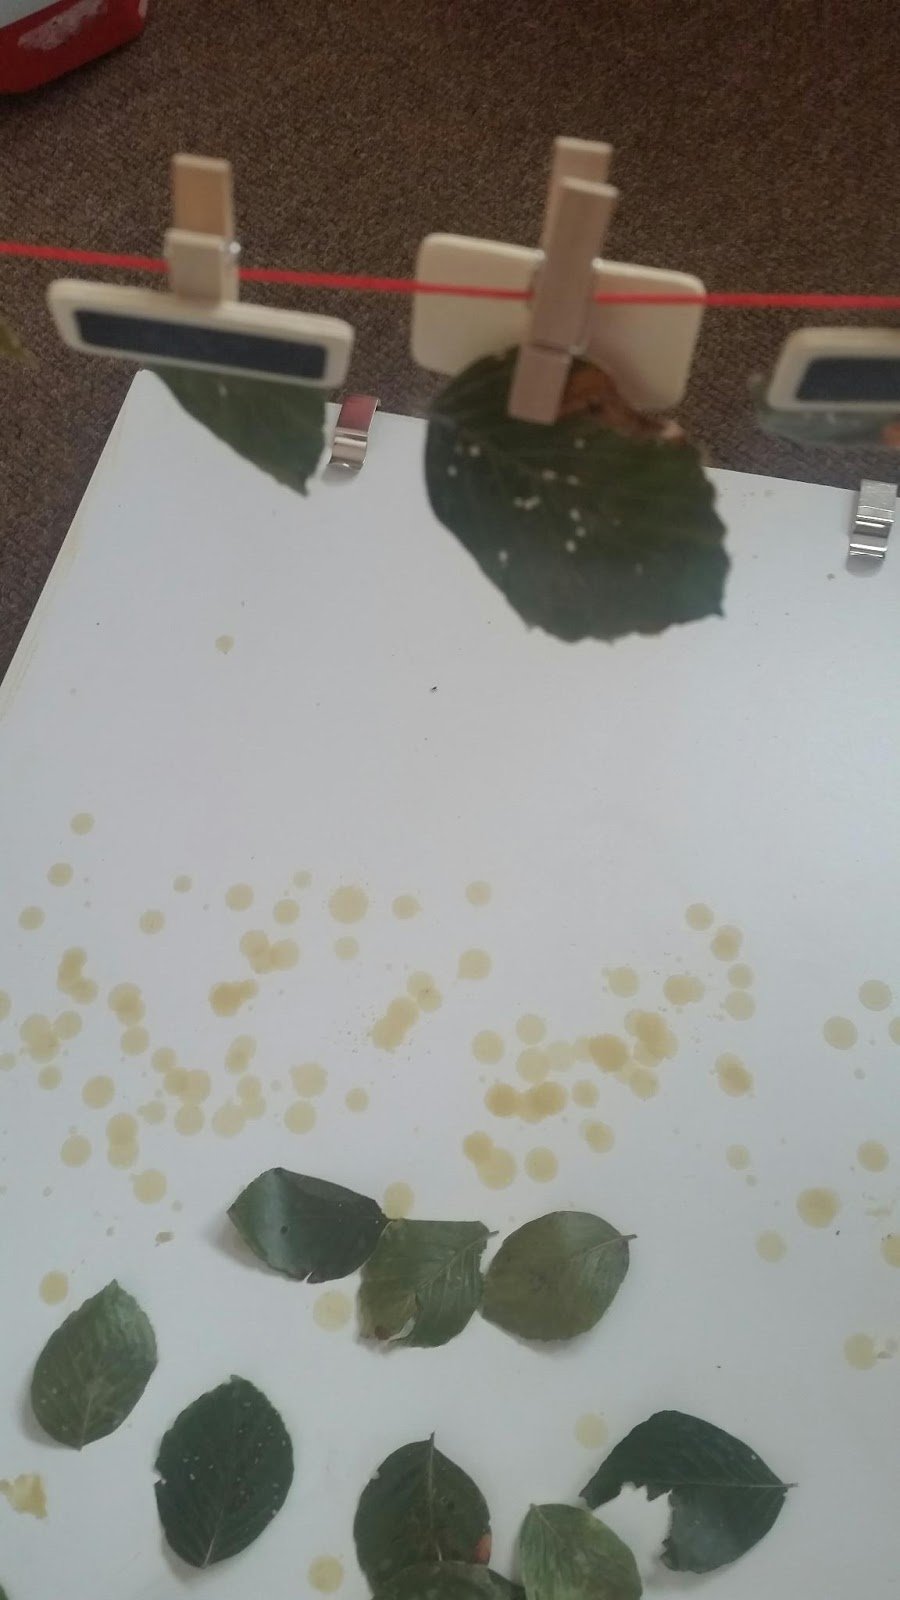
Leaf Prints; as I am teaching first class we will create some basic prints.

Set up a printing area in your class. They will need this to have a clean area for printing and to have enough space.

If children are waiting- let them place leaves under the page in their scrap book and make relief prints with crayons.

Area 1:
Painting-
Roll some printing ink on a tray to ensure there is a thin layer of paint on the roller.
Roll the paint covered roller on some acetate.
Place a leaf on top. (It will turn out white, if you do not want this- roll another colour onto the leaf)

Area 2:
This is the clean printing area.

Place the clean sheet of paper on top of the paint covered acetate and painted leaf.
With a clean roller, gently roll so that paint prints onto the page.


As I am doing these lessons at the same time, it isn't possible to have my own photos, but I'll add them as we go! This link has a great step by step instruction though!

http://victoriaedm1.blogspot.ie/2014/02/and-this-is-how-it-is-done.html

Tah Dah! Leaf Prints! :)

Week 4:

Clay:

We will roll out clay on our desk. Using the leaves, sticks and any other seeds etc that the children bring in we will make marks, lines and prints in the clay.

The clay can be cropped into squares using a ruler and displayed as a group project in a tile like fashion.

You could glue them to a wooden board- it would be a permanent display. If you would like the children to have a piece to bring home, they can just be placed on a table to display them for the time being.

http://polymerclaydaily.com/2010/10/18/polymer-by-inches/


Sunday, 9 August 2015

Autumn Leaves

Autumn is another great theme in Art. There are so many fantastic natural resources right outside the classroom window!

Construction:

Bright, colourful autumn leaves can be preserved in beeswax.

Simply collect the leaves, place in a flower press (or big heavy book) for a few days to flatten.

Heat up the beeswax on a low heat and dip the leaves in.

Hanging leaf decorations can then be created!


Preserving some summer Beech tree leaves.


Fabric and Fibre:


Using the book "Leaf Man" as a stimulus, children can collect leaves and seeds and create their own "Leaf Man"!


"Googly eyes" can be added- but I like the way this book uses the acorns!


The children can also create their own idea using the autumn leaves. 

Paint and Colour:

A simple idea is to let the children paint the leaves. 
It's a good lesson to discuss how art doesn't always need to happen on the white piece of paper!

Some Reggio Emilia inspired lessons also suggest painting a branch. It can be a team effort and the class can do it together.

The branch may be used to decorate the class after. I like the idea of creating a "Gratitude Tree" with it. The children can write down anything they are grateful for on leaf shaped paper and hand on the tree. This is a great way of introducing the mindfulness technique of gratitude into your class.

Print:

Autumn leaves are great for print! Basic print can begin with placing a leaf under the paper and let the children colour on top with a crayon. Paper can also be placed on the bark of a tree.

Monoprinting:
You will need acetate- found in any stationary shop. Check in your school office for C.V. covers- especially after the summer holidays- the plastic on the front is all you need. 
Print rollers are normally stored in the school's art resource room.

1. Put some printing ink on a tray- roll out with a roller.
2. Roll the ink on to the acetate.
3. Place a leaf on the painted acetate.
4. Place a lean sheet of paper on top.
5. Roll with a clean roller.
6. Peel off!

Foam printing:
Foam sheets are a safer way of creating prints similar to lino printing.

I purchase mine from Cork Art Supplies.

The child can draw around the leaves/ picture inspired by leaves on the foam.
The printing ink is rolled on (Acrylic Paint can be used also) and printed on to paper.

The leaves and seeds can also be pressed onto the foam.

Clay:

Clay slabs can be used wet or a day old. 

Older classes may be able to prepare their own slabs. Roll out a slab of clay, leave in newspaper for 1 day. It will be leather like in texture and less sticky to work with.

Remember if sticking clay together to use the scour and slip method to stick it.

Younger children can use wet clay rolled out.

Leaves and seeds can be pressed on the clay. Some children may want to leave seeds and leaves in the clay. They will shrink and discolour as they are natural. 
The beeswax method will preserve the leaves a bit more- but this is all a good lesson in itself!

PVA glue can be used to coat and protect the clay. It will look milky when first applied, but will dry clear. 


Leaves and seeds in wet clay.


Tree bark.