Powered By Blogger
Showing posts with label Clay. Show all posts

Friday, 29 July 2016

Visual Arts on a Budget

During the summer I put a link on my Facebook page to a Survey Monkey questionnaire about  the visual arts budget in classrooms. 


Most teachers (32%) have a budget of €100-200 euro each year. The top 5 resources bought from this money are paper/card, paints, clay, PVA glue and crepe paper.

With a strict budget, many teachers are looking for ways to cut down their art supplies bill so to ensure that they can bring the best variety of art lessons to the children in their class. So here are some ideas!

Certain supplies are worth investing in, as they can be minded throughout the years. Such examples are print rollers and pastels. 

Fabric and Fibre

Firstly ReCreate Ireland is a fantastic resource. 


Basically this is a warehouse full of reused art supplies. When a company is throwing out supplies they send it here. You can visit and fill your car with as much resources as you need. The school can join and everyone can access the supplies, and there is also an individual membership plan. 
There are loads of unused plastic containers that can be used as water pots/ paint trays also.

http://recreate.ie/galleries/

Another idea to collect fabric and fibre resources is to visit your local curtain suppliers. Sample books are often thrown out. They are great as the material is already cut to a nice size. Some thicker materials can be difficult for younger years to cut however. 

http://sampling-international.co.uk/

Ask the children to collect Christmas wrapping paper and Easter egg wrappers for you. We always did this for our teachers and loved to try flatten the tin foil from the eggs! 

http://beafunmum.com/easter-craft-and-activities/

Paint and Colour

Cereal boxes are great for making stencils from also. Cut out the shapes with a craft knife. 

In terms of paint and paper- there are often better deals when these are bought in bulk- it might be worth teaming up with another teacher in the school and going halves on some items. 

Have a cup at the back of your class for any 'lost and found' markers or crayons. I keep a plastic tub full of odd markers and crayons and the class love to use them as there is a good variety!

It may be useful to have an 'at school' pencil case and an 'at home' one to ensure equipment doesn't get lost as quick.  

Clay

Clay is a strand unit, yet a bag can set you back €15. There are alternatives to store bought clay however. 
Homemade salt dough is really easy to make and sets hard in the oven. 

http://theimaginationtree.com/2010/10/salt-dough-handprints.html

Natural clay is something that children can always access. That sticky wet clay is perfect for experimenting in manipulation play. How about creating some tree creatures from it?

http://www.wildheritage.co.uk/marvellous-mud-art/

Print 

Foam printing can be expensive, but foam plates (€1.49 pack of 20- Dealz) are a great alternative.


Use old CV covers (plastic part) to print on also. 


Buy PVA glue in 5 litre tubs as it will last. Just pour some hot water over the lid if it gets stuck! 

Construction:

Bring the class outdoors and explore creating shelters. They can be constructed on a small or large scale, depending on the resources available. 


Ideas for building shelters: http://www.mykidsadventures.com/outdoor-survival-shelter/

Responding to Art

There are some amazing sites to create art on that are absolutely free.

http://clairesprimaryschoolart.blogspot.ie/2015/08/websites-for-art.html

Some books that are great to inspire children are also available on Youtube. 


Many of these books may be in your local library also.

I hope these are useful ideas! Please share any tips of tricks that you may know! :) 

Wednesday, 25 November 2015

Clay Christmas/Winter Themed

"Hey any nice handy ideas using clay with fifth and sixth something a bit different theme winter/ Xmas
"

Clay Christmas Decorations

http://www.tomfo.com/how-to-make-white-clay-christmas-ornaments

A simple way to create Christmas decorations, simply roll and cut clay. Put a hole in the decoration and Tah Dah!


Harry Potter Sorting Hat Christmas Tree

https://www.pinterest.com/bethdierker/

I thought this was a great idea! Ensure to scour and use a drop of water on the surface that you are sticking bobbins to. 


Clay House

http://www.lachicadelacasadecaramelo.com/2014/11/tres-sencillos-diy-con-pasta-de-modelar.html

I liked the idea of this. I would use clay slabs for this. Roll out the slabs of clay you need 24 hours before hand. Store in between layers of newspaper. It will have a leather like texture. It's very easy to work with as it's not sticky.

Stick the pieces of clay together by scouring the surface and buttering on some 'slip. (Blended clay and water 1:4)


Glass Jar Scene

https://www.bloglovin.com/blogs/gingered-things-3943183/lichterstadt-aus-modeliermasse-3862165047

Using old jam jars, roll out clay (or use slabs) and create your Christmas/Winter Scene. Wrap around. Finish with some nice decorations like a ribbon around the top of the jar. Place a tea light into the jar for effect!


Melted Snowman

https://www.etsy.com/ie/listing/114947964/034-christmas-ornament-melted-snowman?ref=sr_gallery_28&ga_search_query=glass+fused+holiday&ga_view_type=gallery&ga_ship_to=CA&ga_page=28&ga_search_type=handmade&ga_facet=handmadeglass+fused+holiday

A cool alternative to clay snowmen! Make sure to scour surfaces that you stick together. Paint a layer of PVA glue over the painted clay for a glossy effect. It will look milky, but will dry clear!

Hope there are some ideas here! :) 

Tuesday, 25 August 2015

"Winter"

Drawing


I came across this idea on Pinterest, it's a great example to begin shading and where light hits an object. 
You could develop this by drawing still life with light reflecting on one side- a bright winter's morning, or a safer bet in Ireland- a lamp!

Paint &Colour

Wax resist


Wax resist is such a handy lesson. I recommend using cheap, waxy crayons. Candles work really well too. Mix the paint with lots of water to ensure the wax resist is obvious.

Tones of Blue

Create tones of blue with white and black paint mixed with the blue.


This is another example of a painting found online, it's a brilliant extension to the tones of blue lesson.

Painting on Ice

http://www.education.com/activity/article/paint-with-ice/

This lesson is always referenced on early education/ preschool pages- but it's a great discovery learning lesson for primary school age also. A child in my first class tried to bring a snowball in to school in his pocket "for later"- this ended up being a great lesson in ice and melting!

There are two ways to approach this:
1. Freeze a mixture of paint and water in ice cube trays. Allow the children to paint with.
2. Freeze a larger volume of water (in a butter tub) and allow the children to paint on it. 

Splat Painting

A snowy background can be created in Jackson Pollock style! See previous posts for examples of how to explore;

http://clairesprimaryschoolart.blogspot.ie/2015/08/primary-colours.htmlChalk Drawings- dip the chalk in paint for some creative exploration!

http://clairesprimaryschoolart.blogspot.ie/2015/08/story-books-to-teach-children-about.htmlPrint
Snowmen

Negative space picture

I love the creativity in this!


Mix glue and shaving foam. It will dry as a 3-D foam. Very effective!

Clay

Penguins and snowmen are easily created from clay. Ensure to use scour and add a drop of water when sticking the snowmen together/adding beaks and noses!

Fabric & Fibre

Polar Bears are easily created from cotton wool. Tin foil works really well as a reflective background.


I came across this fantastic snowman online- and an eco friendly lesson too ;) 


Construction

Penguins and Snowmen


Another take on this is to stick the cotton wool on the outside to create fluffy snowmen.

Why not give the bottles and black and orange paper to the children and see what they create?! 


Snowflakes


Fold and cut paper to create individual snowflakes.

Explore the true story of Wilson 'Snowflake' Bently, a photographer of snowflakes.


An easier method of constructing a snowflake for younger years.


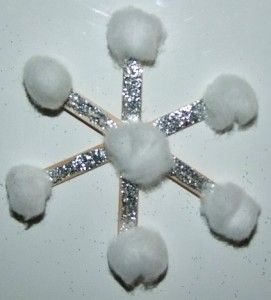
Snowflakes with lollipop sticks.

Snow Globes


https://www.pinterest.com/pin/506725395544563063/


Print

Using natural resources to print snowflakes


Experiment with different textures to create print effects. 

Winter books to respond to:

"Penguin"


"The Snowman"


Monday, 17 August 2015

Planning for Art

I like to keep my plans simple and straight forward. I plan by theme each month.

Here's how I long term plan for Art:


Wednesday, 12 August 2015

Using Clay

Children love clay- but it always ends up being a lesson based on product. They finish a nice 'piece' and ask when they will be allowed to bring it home.

I think there is a place for 'product', children feel that sense of achievement to complete something. But they also need to embrace the process, unfortunately, clay doesn't really allow for this as it dries so quick.

One way of addressing this is to let the children practice moulding in plasticine. I use this every day with my first class anyway. It is great for developing hand muscles and by having some craft tools on hand they can get very creative with it!


When the children do get clay to mould- it is important that they touch it as little as possible. The heat of their hands will dry it out.

Clay lessons begin at basic level of rolling into a ball, pinching and making bowls.

Marks and texture can be added by using clay tools, pencils, lollipop sticks and other craft tools.

When a child needs to stick two pieces of clay together, it is important that they do this through the scouring and slip method.
'Scour' criss cross marks on the two sides of the clay you want to stick together. Spread 'Slip' on the side and stick together. Smooth the edges. Another option is to use a small amount of water instead of slip (on wet clay). Put a drop of water in a jam jar lip to ensure the children don't go overboard with water!


'Slip'- mix 1 part of clay to 3 parts of water in a container. Blend with a kitchen blender- it will have a soft, melting ice-cream, soft butter texture. This can be sealed and used again at a later date.

After the clay has been painted/decorated, paint with PVA glue. It will be a milky colour, but will dry clear to give the piece a nice glossy finish.


Sunday, 9 August 2015

Autumn Leaves

Autumn is another great theme in Art. There are so many fantastic natural resources right outside the classroom window!

Construction:

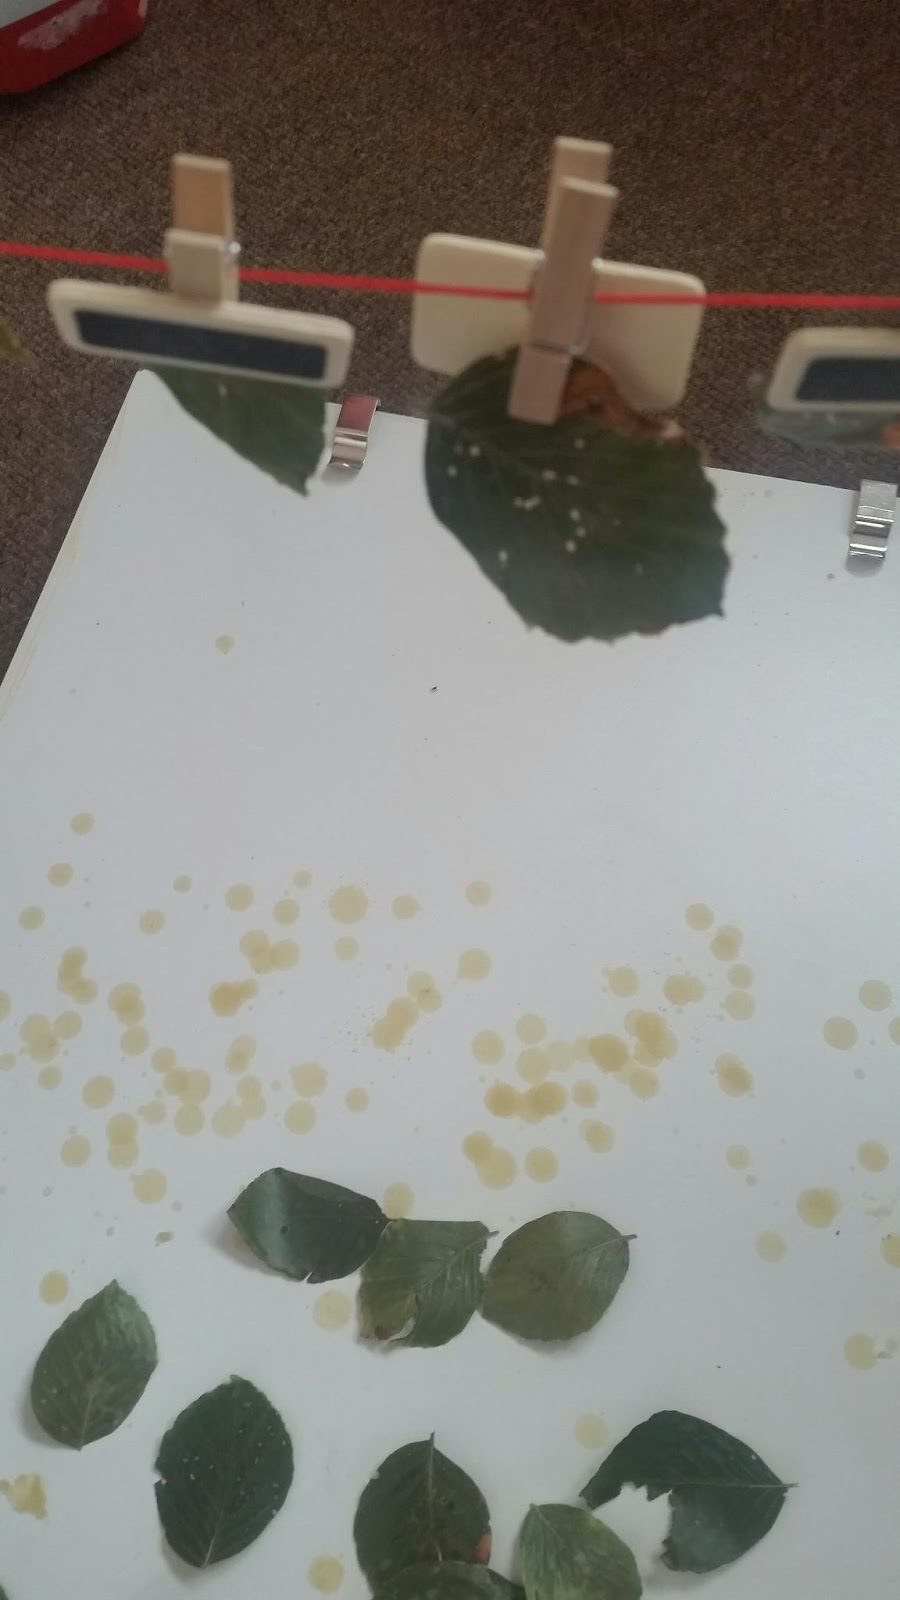
Bright, colourful autumn leaves can be preserved in beeswax.

Simply collect the leaves, place in a flower press (or big heavy book) for a few days to flatten.

Heat up the beeswax on a low heat and dip the leaves in.

Hanging leaf decorations can then be created!


Preserving some summer Beech tree leaves.


Fabric and Fibre:


Using the book "Leaf Man" as a stimulus, children can collect leaves and seeds and create their own "Leaf Man"!


"Googly eyes" can be added- but I like the way this book uses the acorns!


The children can also create their own idea using the autumn leaves. 

Paint and Colour:

A simple idea is to let the children paint the leaves. 
It's a good lesson to discuss how art doesn't always need to happen on the white piece of paper!

Some Reggio Emilia inspired lessons also suggest painting a branch. It can be a team effort and the class can do it together.

The branch may be used to decorate the class after. I like the idea of creating a "Gratitude Tree" with it. The children can write down anything they are grateful for on leaf shaped paper and hand on the tree. This is a great way of introducing the mindfulness technique of gratitude into your class.

Print:

Autumn leaves are great for print! Basic print can begin with placing a leaf under the paper and let the children colour on top with a crayon. Paper can also be placed on the bark of a tree.

Monoprinting:
You will need acetate- found in any stationary shop. Check in your school office for C.V. covers- especially after the summer holidays- the plastic on the front is all you need. 
Print rollers are normally stored in the school's art resource room.

1. Put some printing ink on a tray- roll out with a roller.
2. Roll the ink on to the acetate.
3. Place a leaf on the painted acetate.
4. Place a lean sheet of paper on top.
5. Roll with a clean roller.
6. Peel off!

Foam printing:
Foam sheets are a safer way of creating prints similar to lino printing.

I purchase mine from Cork Art Supplies.

The child can draw around the leaves/ picture inspired by leaves on the foam.
The printing ink is rolled on (Acrylic Paint can be used also) and printed on to paper.

The leaves and seeds can also be pressed onto the foam.

Clay:

Clay slabs can be used wet or a day old. 

Older classes may be able to prepare their own slabs. Roll out a slab of clay, leave in newspaper for 1 day. It will be leather like in texture and less sticky to work with.

Remember if sticking clay together to use the scour and slip method to stick it.

Younger children can use wet clay rolled out.

Leaves and seeds can be pressed on the clay. Some children may want to leave seeds and leaves in the clay. They will shrink and discolour as they are natural. 
The beeswax method will preserve the leaves a bit more- but this is all a good lesson in itself!

PVA glue can be used to coat and protect the clay. It will look milky when first applied, but will dry clear. 


Leaves and seeds in wet clay.


Tree bark.